Disaster Recovery for Embedded Cluster (Alpha)
This topic describes the disaster recovery feature for Replicated Embedded Cluster, including how to enable disaster recovery for your application, how to configure disaster recovery in the Replicated KOTS Admin Console, and how to restore from a backup.
Embedded Cluster disaster recovery is an Alpha feature. This feature is subject to change, including breaking changes. To get access to this feature, reach out to Alex Parker at alexp@replicated.com.
Embedded Cluster does not support backup and restore with the KOTS snapshots feature. For more information about snapshots, see Understanding Backup and Restore.
Overview
The Embedded Cluster disaster recovery feature allows you to support backup and restore for your customers. Embedded Cluster users can configure and take backups from the Admin Console, and restore from the command line.
Disaster recovery for Embedded Cluster installations is implemented with Velero. For more information about Velero, see the Velero documentation.
Requirements
Enabling disaster recovery for Embedded Cluster has the following requirements:
- The disaster recovery feature flag must be enabled for your account. To get access to disaster recovery, reach out to Alex Parker at alexp@replicated.com.
- Embedded Cluster version 1.4.1 or later
- Backups must be stored in S3-compatible storage
Limitations and Known Issues
Embedded Cluster disaster recovery has the following limitations and known issues:
-
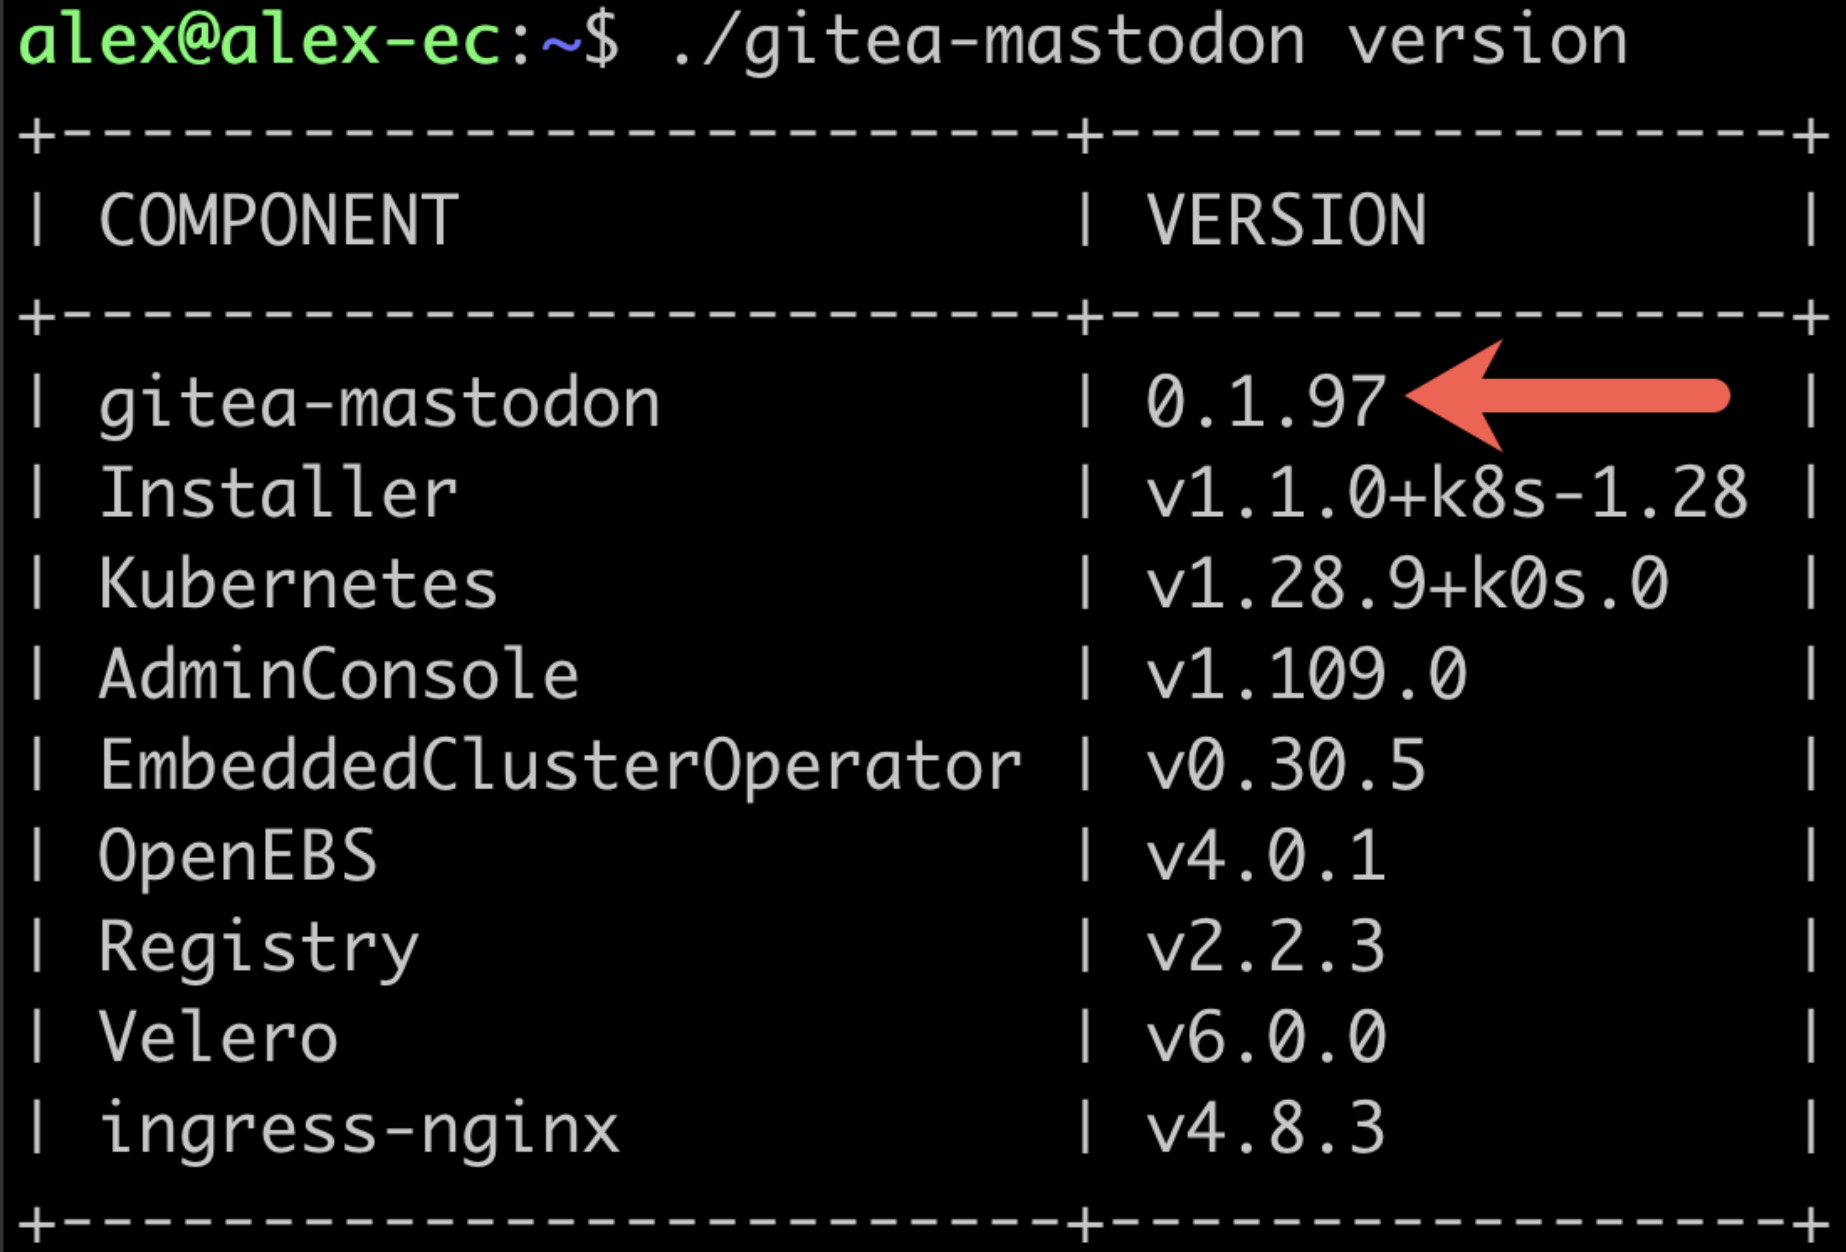
During a restore, the version of the Embedded Cluster installation assets must match the version of the application in the backup. So if version 0.1.97 of your application was backed up, the Embedded Cluster installation assets for 0.1.97 must be used to perform the restore. Use
./APP_SLUG versionto check the version of the installation assets, whereAPP_SLUGis the unique application slug. For example:
-
You can only restore from the most recent backup.
-
Velero is only installed during the installation process. Enabling the disaster recovery license field for customers after they have already installed will not do anything.
-
If the
--admin-console-portflag was used during install to change the port for the Admin Console, note that during a restore the Admin Console port will be used from the backup and cannot be changed. For more information, see Change the Admin Console and LAM Ports.
Configure Disaster Recovery for Your Application
To configure disaster recovery for your application:
-
Apply the
replicated.com/disaster-recovery: applabel to any Kubernetes resource you want backed up.Example HelmChart resource to set the required label on all resources:
apiVersion: kots.io/v1beta2
kind: HelmChart
metadata:
  name: postgresql
spec:
  chart:
    name: postgresql
    chartVersion: 15.5.0
  values:
    commonLabels:
replicated.com/disaster-recovery: app -
You must specify which Pod volumes you want backed up. This is done with the
backup.velero.io/backup-volumesannotation. For more information, see File System Backup in the Velero documentation.Example Helm chart values to set the backup-volumes annotation on the relevant Pod:
podAnnotations:
backup.velero.io/backup-volumes: backup -
(Optional) In addition to the previous steps, you can use Velero functionality like backup and restore hooks to customize your backup and restore process as needed.
For example, a Postgres database might be backed up using pg_dump to extract the database into a file as part of a backup hook. It can then be restored using the file in a restore hook:
podAnnotations:
  backup.velero.io/backup-volumes: backup
  pre.hook.backup.velero.io/command: '["/bin/bash", "-c", "PGPASSWORD=$POSTGRES_PASSWORD pg_dump -U {{repl ConfigOption "postgresql_username" }} -d {{repl ConfigOption "postgresql_database" }} -h 127.0.0.1 > /scratch/backup.sql"]'
  pre.hook.backup.velero.io/timeout: 3m
  post.hook.restore.velero.io/command: '["/bin/bash", "-c", "[ -f \"/scratch/backup.sql\" ] && PGPASSWORD=$POSTGRES_PASSWORD psql -U {{repl ConfigOption "postgresql_username" }} -h 127.0.0.1 -d {{repl ConfigOption "postgresql_database" }} -f /scratch/backup.sql && rm -f /scratch/backup.sql;"]'
  post.hook.restore.velero.io/wait-for-ready: 'true' # waits for the pod to be ready before running the post-restore hook
Enable Disaster Recovery for Your Customers
After configuring disaster recovery for your application, you can enable it on a per-customer basis with the Allow Disaster Recovery license field.
To enable disaster recovery for a customer:
-
In the Vendor Portal, go to the Customers page and select the target customer.
-
On the Manage customer page, under License options, enable the Allow Disaster Recovery (Alpha) field.
When your customer installs with Embedded Cluster, Velero will be deployed if the Allow Disaster Recovery license field is enabled.
Configure Backup Storage and Take Backups in the Admin Console
To configure backup storage and take backups in the Admin Console:
-
After installing the application and visiting the Admin Console, click the Disaster Recovery tab at the top of the Admin Console.
-
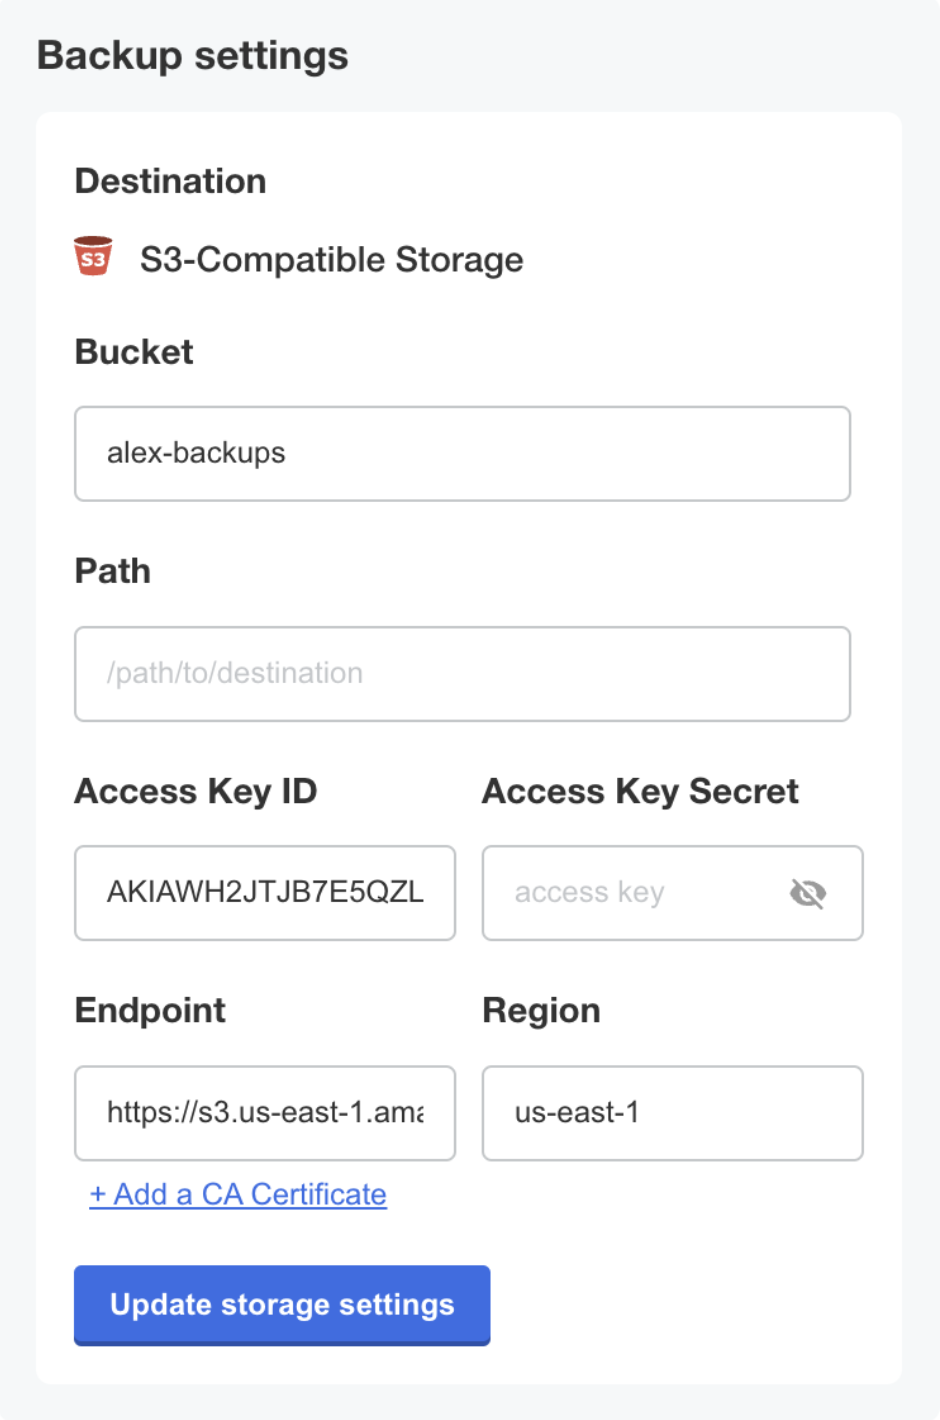
For the desired S3-compatible backup storage location, enter the bucket, prefix (optional), access key ID, access key secret, endpoint, and region. Click Update storage settings.

-
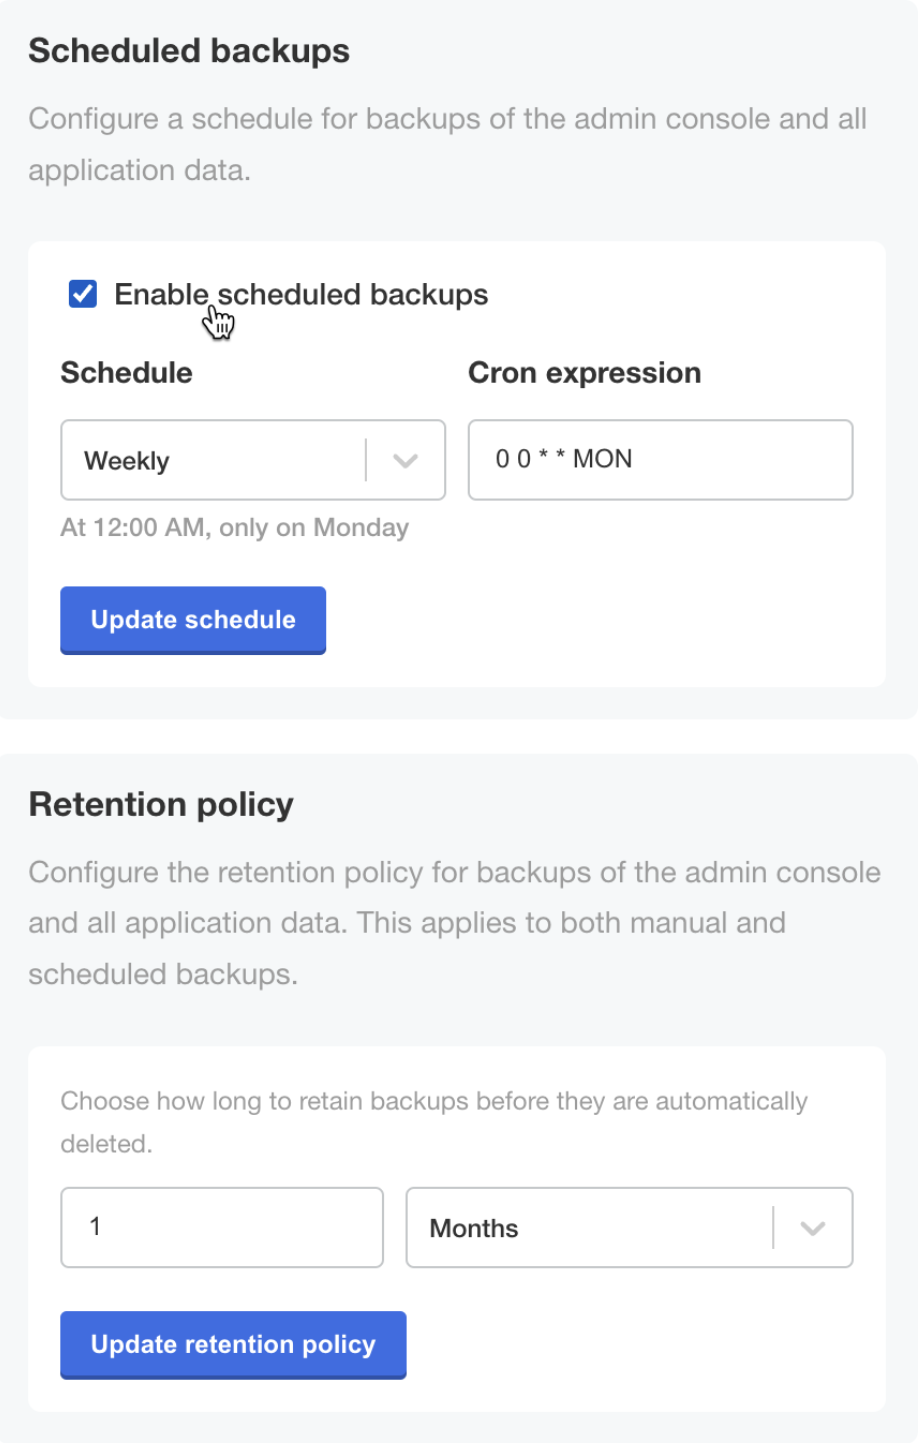
(Optional) From this same page, configure scheduled backups and a retention policy for backups.

-
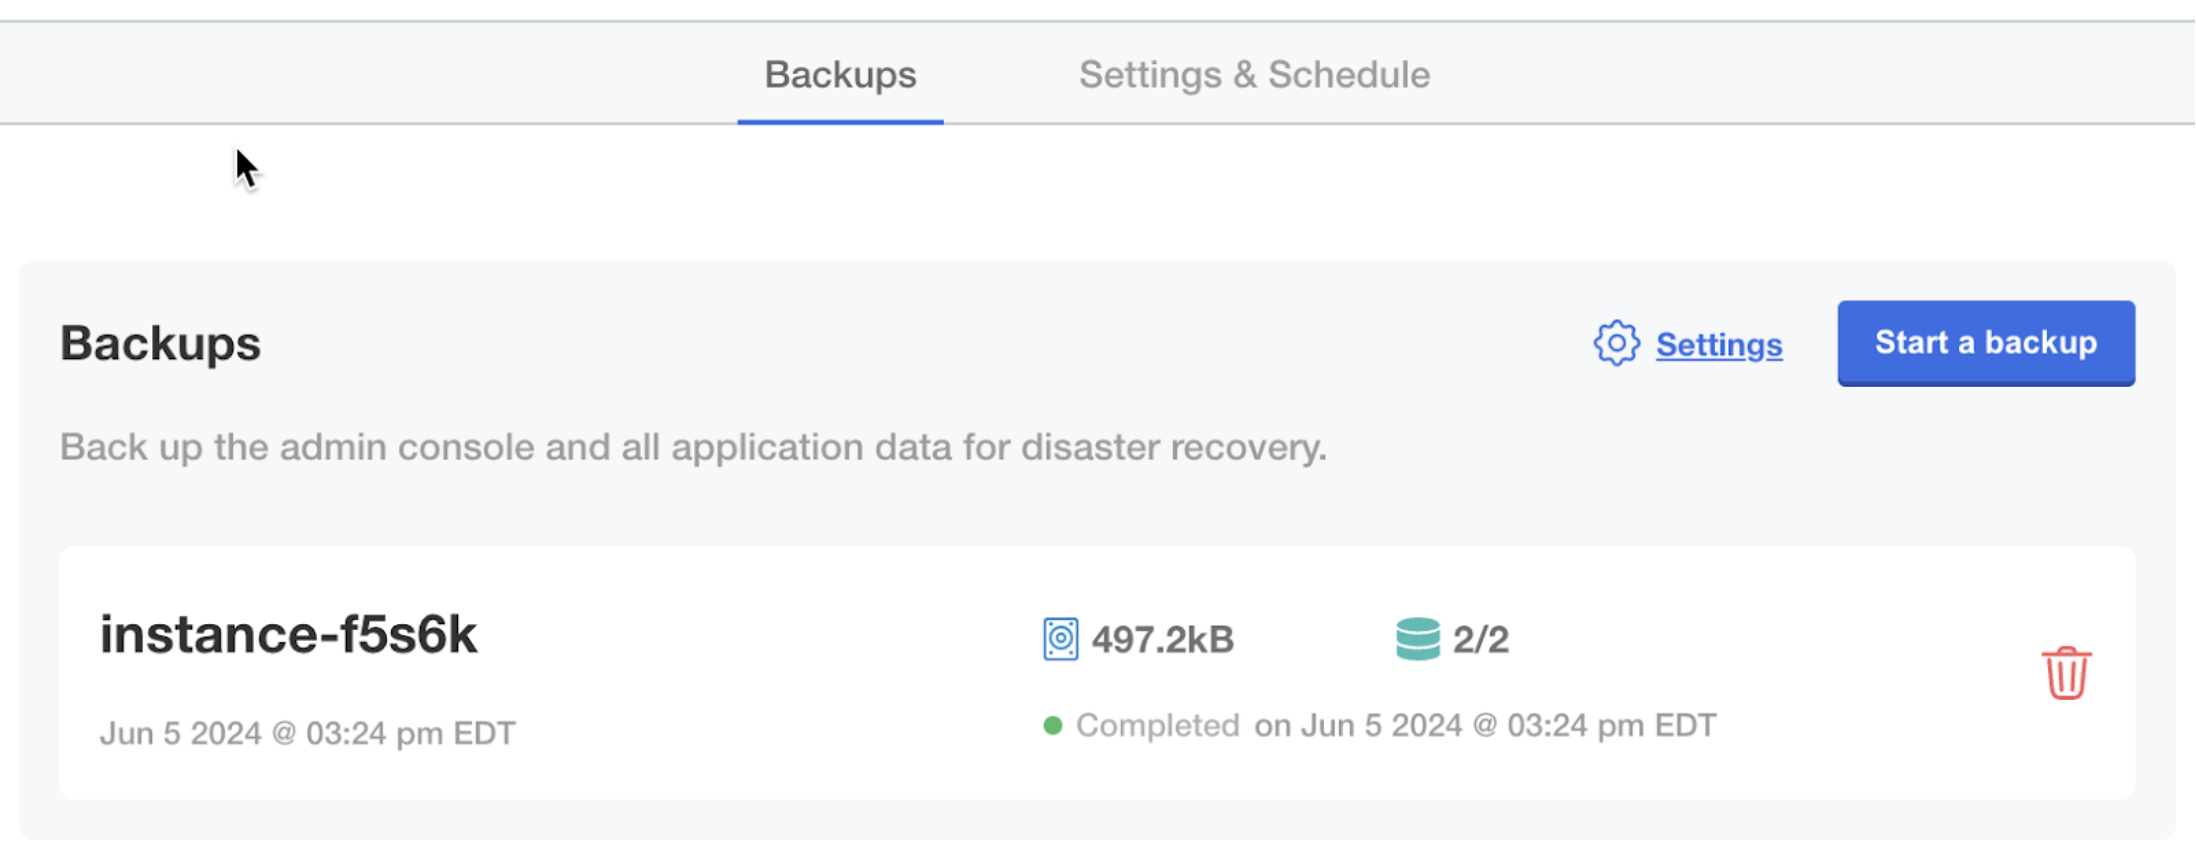
In the Disaster Recovery submenu, click Backups. Backups can be taken from this screen.

Restore from a Backup
To restore from a backup:
-
SSH onto a new machine where you want to restore from a backup.
-
Download the Embedded Cluster installation assets for the version of the application that was included in the backup. You can find the command for downloading Embedded Cluster installation assets in the Embedded Cluster install instructions dialog for the customer. For more information, Online Installation with Embedded Cluster.
noteThe version of the Embedded Cluster installation assets must match the version that is in the backup. For more information, see Limitations and Known Issues.
-
Run the restore command:
sudo ./APP_SLUG restoreWhere
APP_SLUGis the unique application slug.Note the following requirements and guidance for the
restorecommand:-
If the installation is behind a proxy, the same proxy settings provided during install must be provided to the restore command using
--http-proxy,--https-proxy, and--no-proxy. For more information, see Install Behind a Proxy. -
If the
--pod-cidrand--service-cidrflags were used during install to the set IP address ranges for Pods and Services, these flags must be provided with the same CIDRs during the restore. If these flags are not provided or are provided with different CIDRs, the restore will fail with an error message telling you to rerun with the appropriate flags and values. However, it will take some time before that error occurs. For more information, see Set IP Address Ranges for Pods and Services. -
If the
--local-artifact-mirror-portflag was used during install to change the port for the Local Artifact Mirror (LAM), you can optionally use the--local-artifact-mirror-portflag to choose a different LAM port during restore. For example,restore --local-artifact-mirror-port=50000. If no LAM port is provided during restore, the LAM port that was supplied during installation will be used. For more information, see Change Admin Console and LAM Ports.
You will be guided through the process of restoring from a backup.
-
-
When prompted, enter the information for the backup storage location.
-
When prompted, confirm that you want to restore from the detected backup.
 View a larger version of this image
After some time, the Admin console URL is displayed:
-
(Optional) If the cluster should have multiple nodes, go to the Admin Console to get a join command and join additional nodes to the cluster. For more information, see Add Nodes.
-
Type
continuewhen you are ready to proceed with the restore process. View a larger version of this image
After some time, the restore process completes.
If the
restorecommand is interrupted during the restore process, you can resume by rerunning therestorecommand and selecting to resume the previous restore. This is useful if your SSH session is interrupted during the restore.

